I really do love soup. I don’t think I ever realized how just how much until the cold Northeast chill kicks in, and then the true appreciation of a soothing hot bowl of soup sets in. That’s exactly the moment I pull out my big dutch oven, open the fridge and get chopping.
It’s February, which traditionally is the coldest month. Naturally, it was frigid outside… truth be told, the inside of our house often times is more arctic than outdoors. If you were to ask my brother, he would definitely have a thing or two to say about that having survived a few winters in our home. So, I knew with certainty that soup would be on the menu in our house.
Normally, I can just open the fridge and cupboards and start creating. But, this time around, I didn’t have much with which to work. If I had any chance of a soup creation that would warm me through and through, I would need to venture outside. We have plenty of Asian markets in our town, so it’s easy to get motivated to stir up something in with that ethnic flare. And that was exactly the direction I would take. I grabbed what I thought would swim nicely together in the pot and headed back home.
Because I don’t seem to know how to make small quantities of soup, I made a boatload. Fair warning, unless you are feeding an army, or like to freeze and save for a later date, I recommend cutting this recipe down. JuanCarlos and I enjoyed this soup for a several days, then I froze two quarts for future yumminess.
As with any type of ethnic food that might be out of your wheel house, I think it’s important at first to keep it simple and use ingredients that will give you the biggest bang for your buck. Sure, you could go out and buy a slew of special items but if you don’t use them often they just go to waste. Plus, I don’t pretend to be an authority on Thai cooking. Quite the opposite, it is a complex cuisine that employs a delicate hand at balance of spice, salt, sweet, etc. For me, I just like to coax as much flavor out of the ingredients that I can. By sautéing and adding ingredients in stages to develop each flavor to the fullness how I built an intensity that kept me wanting more of this soup.
Like with many of my soup creations they start out as a basic soup, which are totally delicious as is, but then can then be added to. Recap examples:
Cauliflower Soup : Add grilled shrimp or chicken. Sautéed mushrooms or roasted cauliflower
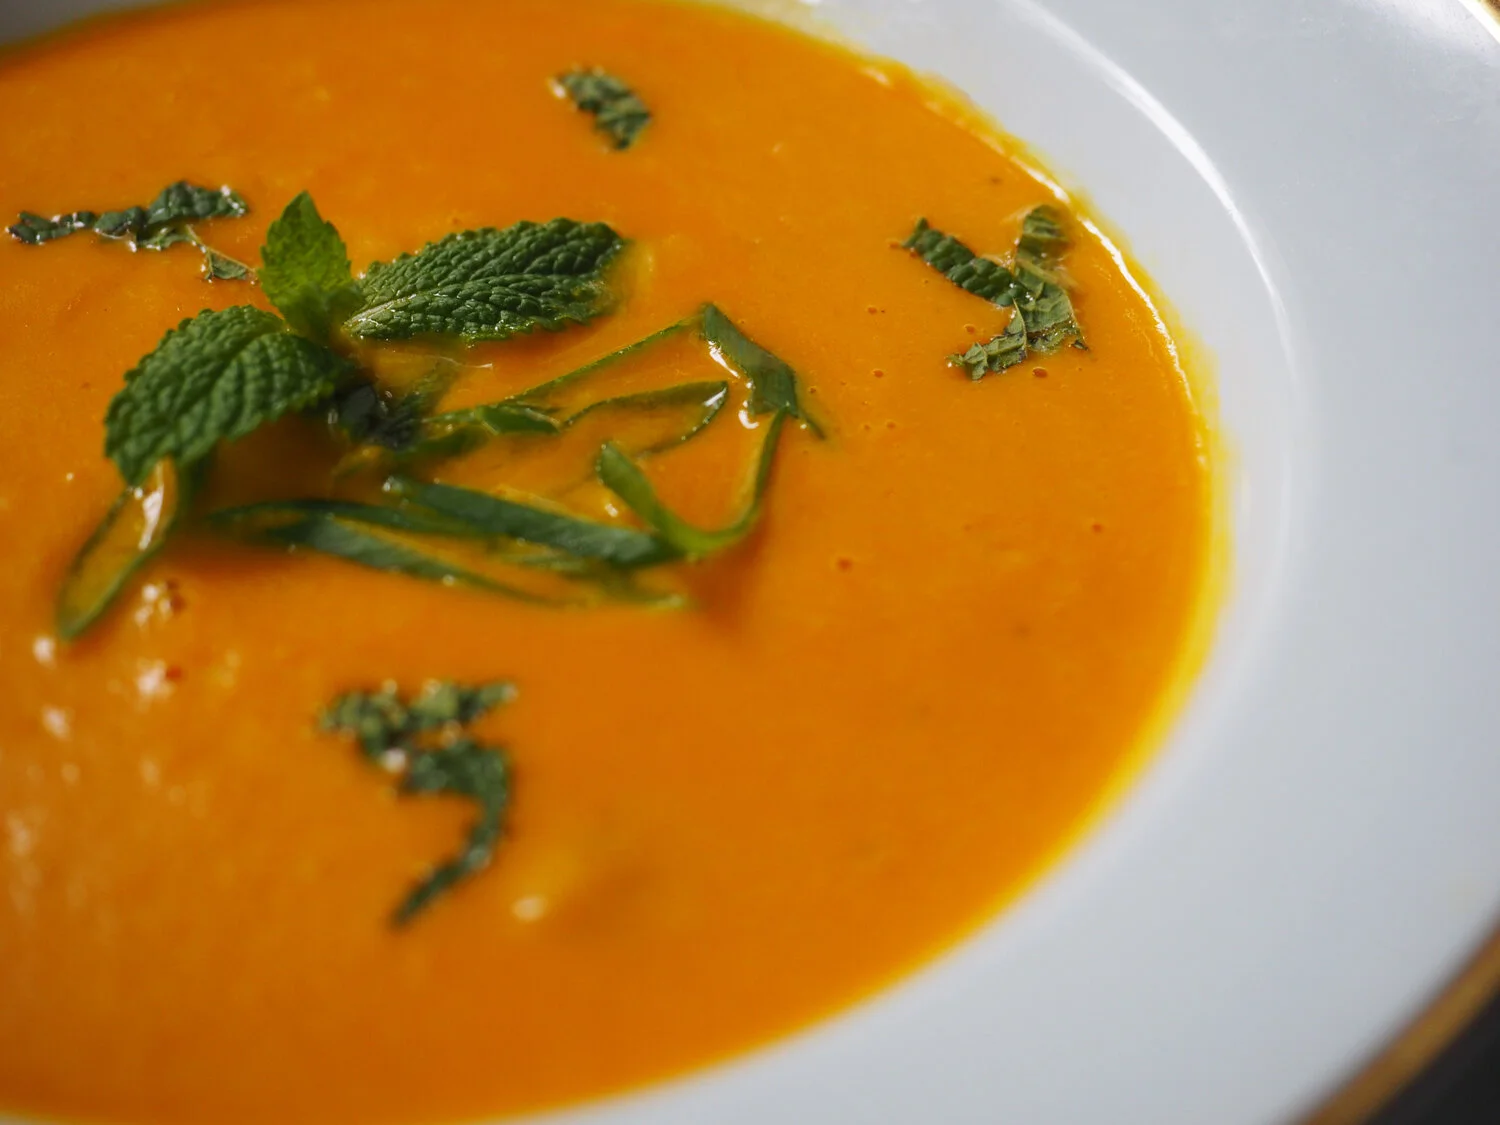
Carrot Soup : Use as a puree base for fish
Kale, Potato, Lentil, Cauliflower Soup : Add mini meatballs, or grilled sausage
Roasted Tomato Soup : Grilled cheese sandwich, naturally. Or a Spicy Sausage Sandwich. Add chunks of grilled chicken.
You get the point. So goes for this soup. I added calamari, but shrimp would be great. Chicken would also work nicely.
So here goes the ingredients. This made about 10 quarts of soup.

Ingredients
Makes approx. 9-10 Qts.
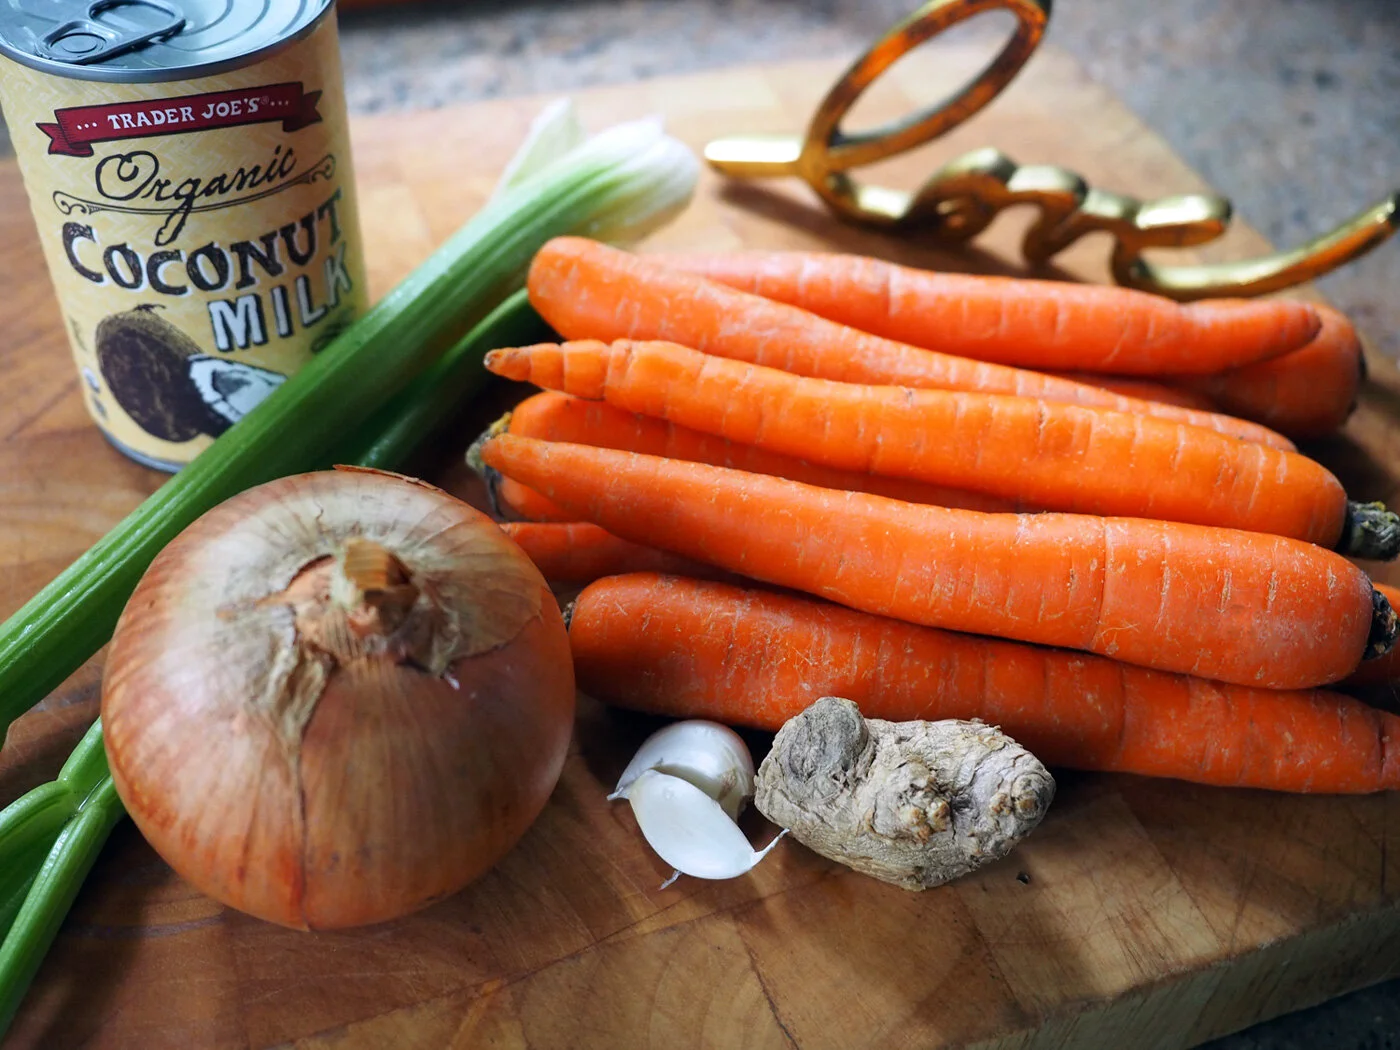
2 medium onions, sliced (approx. 2.5 c)
4 c carrots, long stripes (loosely packed)
1/3 c ginger, sliced
2 t ginger, grated
4 large garlic cloves, smashed
1 stalk lemongrass, smashed
2 + t salt (taste test, add more if needed at the end)
1/3 c olive oil + 1 T
7 c Chinese cabbage, chopped (or Napa)
5 c Chinese spinach, chopped (or baby spinach)
2 c Enoki mushrooms
1 c Shimeji mushrooms
1/3 c scallions, sliced + 2T for garnish
2 T red curry paste
1/4 c cilantro, minced + 2T for garnish
Mung bean sprouts for garnish
2 qts chicken or vegetable stock
2 qts water
2 13.5 oz cans coconut milk

The way the vegetables are cut makes a difference. For this soup, carrot ribbons work best.
Instructions

Create depth of flavor by using strong aromatics, like lemongrass, garlic, ginger and onions.

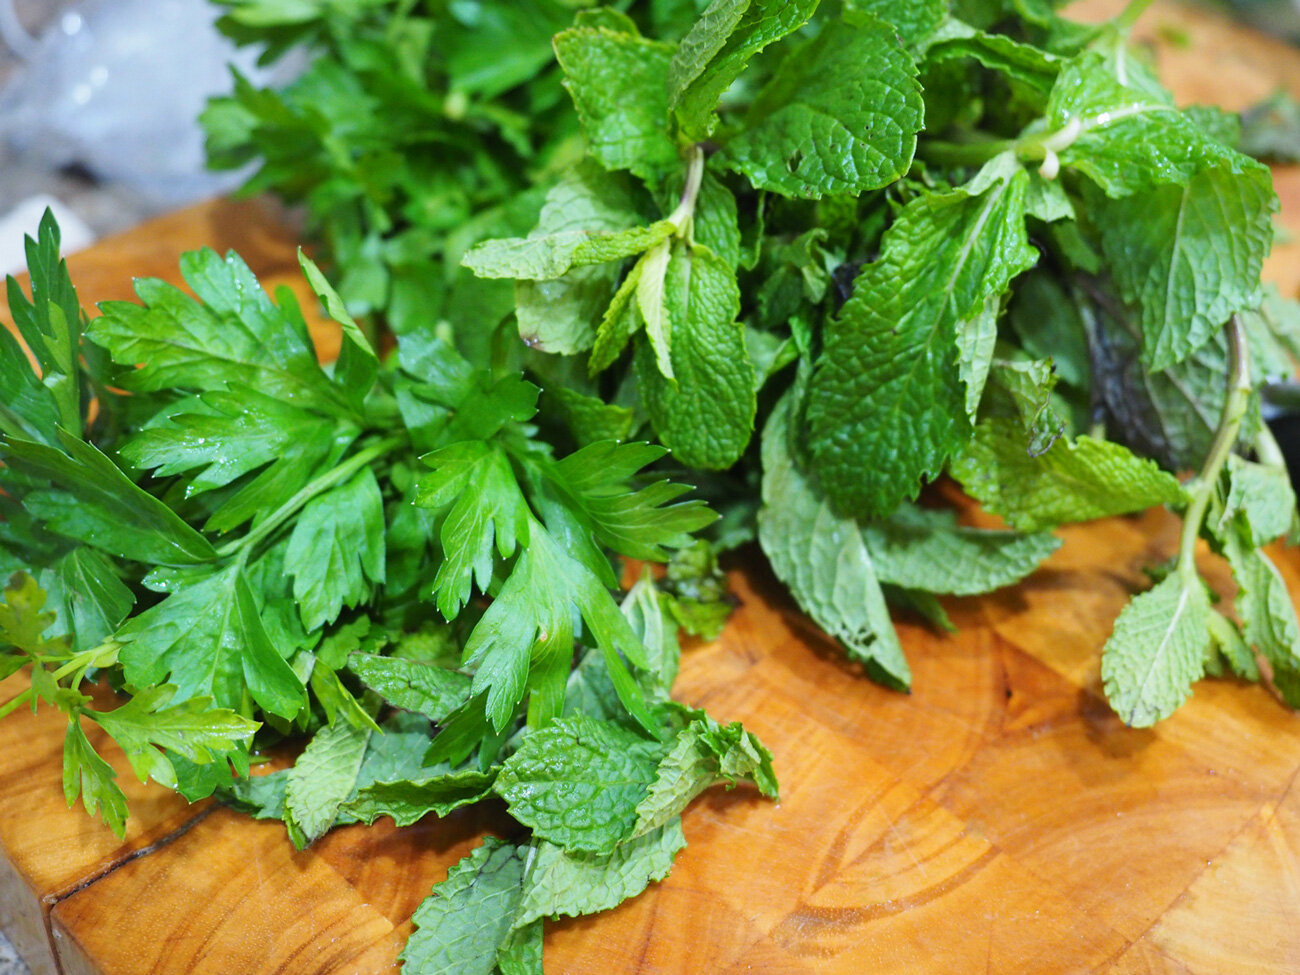
Spinach, cabbage provides the vegetable base, and cilantro zings in some herbaceousness.
In a large dutch oven, or soup pot, sauté onions, lemongrass, slice ginger, garlic, salt. Let these cook down a bit, then add the red curry paste and stir to combine.
Push the cooked aromatics to the sides, add 1 T oil in the middle and add crushed garlic and crushed ginger and scallions and let cook until soft.

Softened aromatics with red curry paste.

Grated garlic and ginger, scallions.
3. Add carrot ribbons and mushrooms, let cook for 10 minutes until softened.

Add carrots and mushrooms and let soften.
4. Add broth and water and simmer for 20 minutes. Then add coconut milk, cabbage, spinach and cilantro and simmer for another 10 minutes.

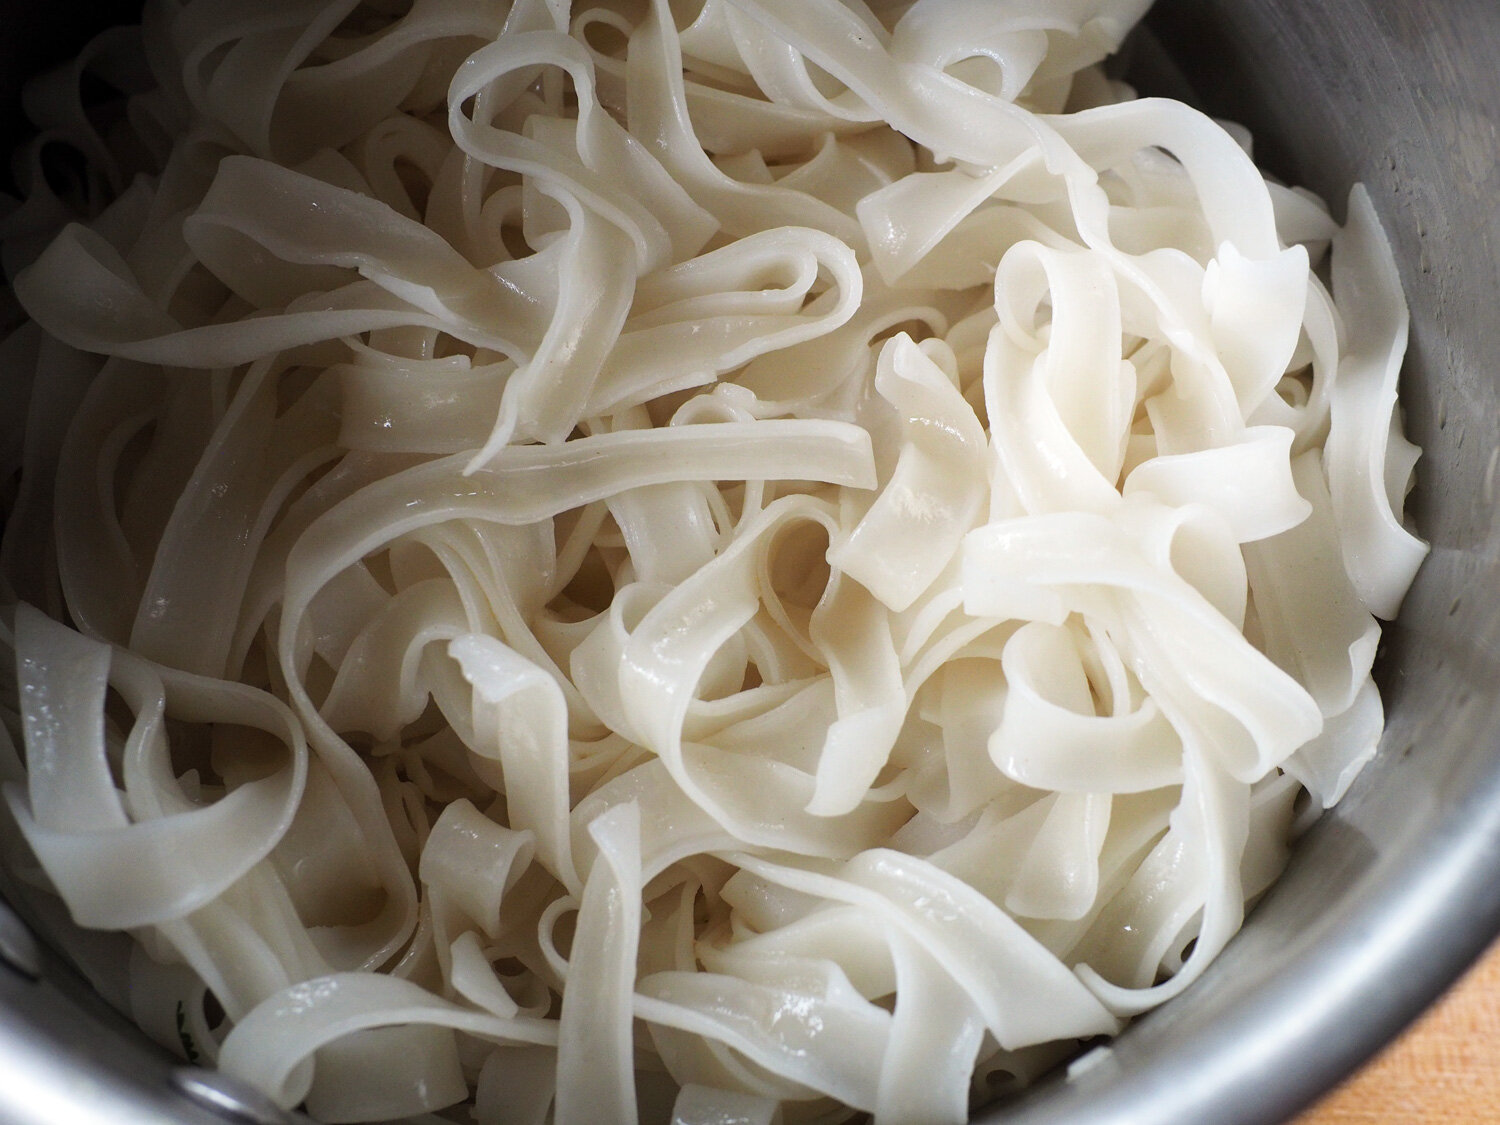
5. Meanwhile, bring pot of water to boil and add rice noodles. Cook for 7-10 minutes until tender. Drain and reserve.
To serve, add the rice noodles to the bowl and spoon a good helping of the soup and vegetables on top and garnish with sliced scallions and cilantro.


If you want to add calamari or shrimp to this soup, add it 5 minutes after the spinach and cabbage and let cook through. You can also grill the shrimp or chicken separately and place it atop the soup.
This soup has a nice kick to it. If I had put more thought to it I might have also added some sliced chili peppers. But, quite honestly, I felt the spice level on this was just right.
My birthday gift to myself is sharing the love of nurturing yourself with good food and the warmth of a good soup that soothes you like a comfy blanket.. Try your hand at Spicy Thai Style Vegetable Soup. It will warm you through and through, and all over - mind, body and soul. Soup is good food.