The last Pro Tip post seemed to be popular among readers, so in effort to be a people pleaser, I present you Pro Tips and Time Savings Ideas Part 2.
Like most ideas I have, they stem from wanting to be more efficient. Whether it’s cooking, baking, or organizing, my brain is always figuring out how I can achieve the goal quicker, more effectively and with the best results.
Perfect example is the history of me making my ‘Acorn’ Shortbread cookies. I put acorn in quotation marks because originally the cookie was shaped like an acorn with the bottom portion dipped in chocolate. If you’ve ever worked with shortbread you know how dry and crumbly it is. To hand shape each cookie into an acorn used to take me hours. Until I figured out that the cookie tastes the same no matter what form it takes. Naturally, it still needs to look appetizing, but since we’re not squirrels, most any other shape would suffice, and without all the extra hand shaping work. The first couple of years I was still hand shaping but not so intricately. Then I realized that I could ratchet up my efficiency level up a few notches. I packed all the dough into a baking sheet and rolled it out evenly. Then I cut squares or rectangle shapes, and using a spatula, lifted them onto another baking sheet. Voilà, the process now takes minutes instead of hours. And instead of dipping each cookie, I use a piping bag and drizzle the chocolate across dozens of cookies at the same time. In my opinion, I like the look so much better.
I thought I would share that anecdote to illustrate how thinking things through can lead to working smarter rather than harder. I’m all about that x10! I hope these next set of tips do the same for you.
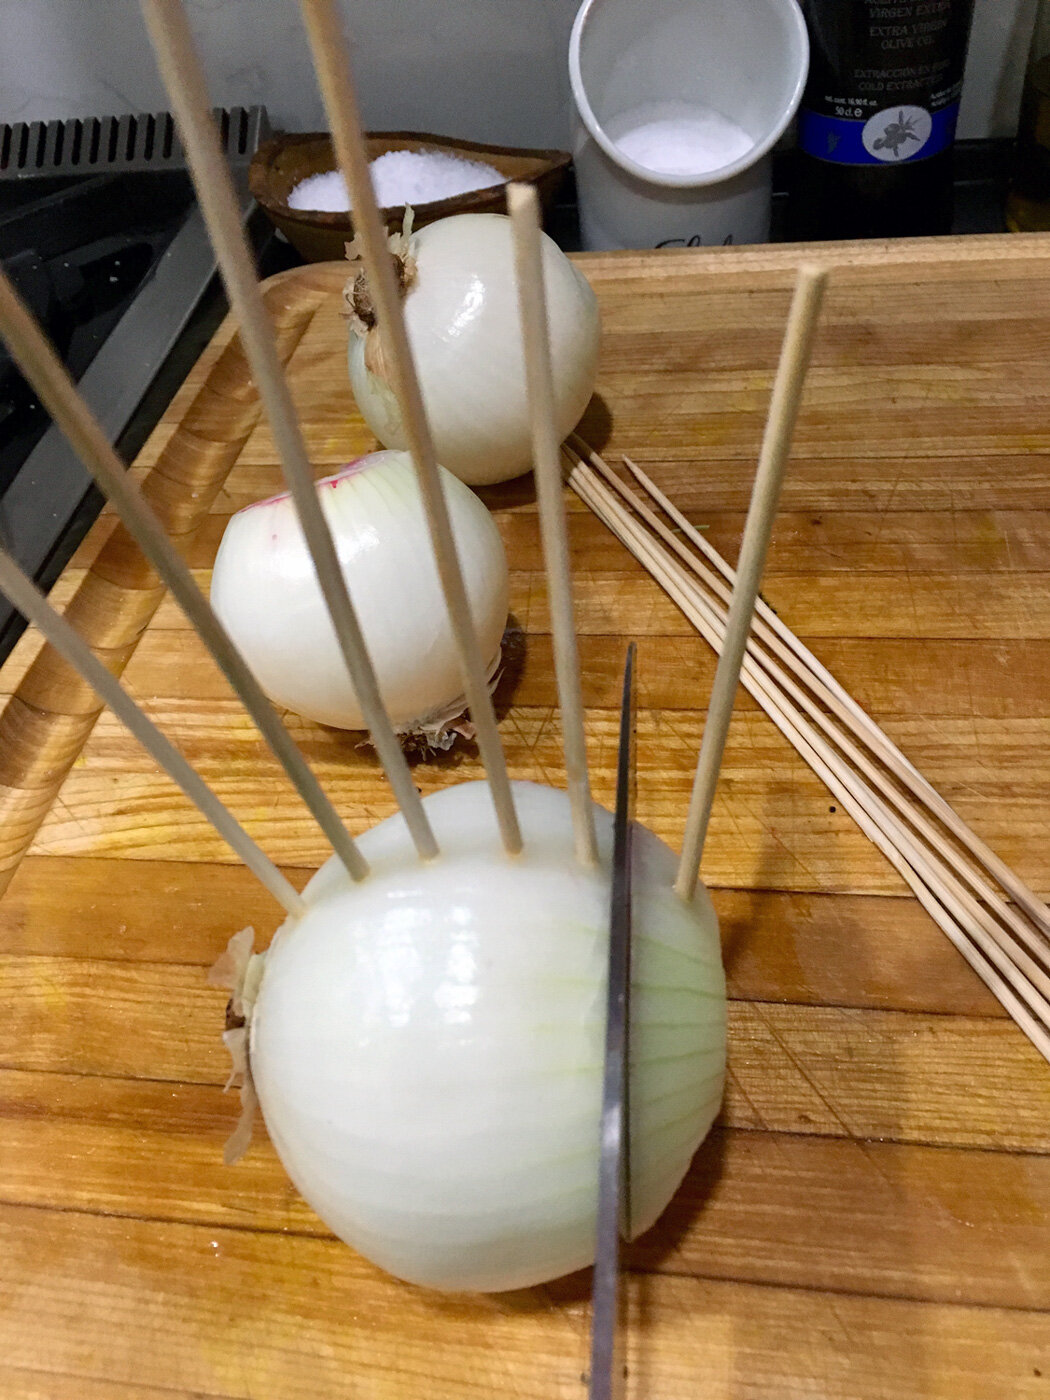
Pro Tips #1 - Roasting or grilling onion slices evenly: Onion Lollipops
I love onions. I make them in tons of ways including using them as a side vegetable. So, when I had a private chef gig out in the Hamptons last summer, I included onions as part of the menu. I wanted the onion slices to look composed and kept together, and of course, evenly cooked. By using this trick, you achieve just that.
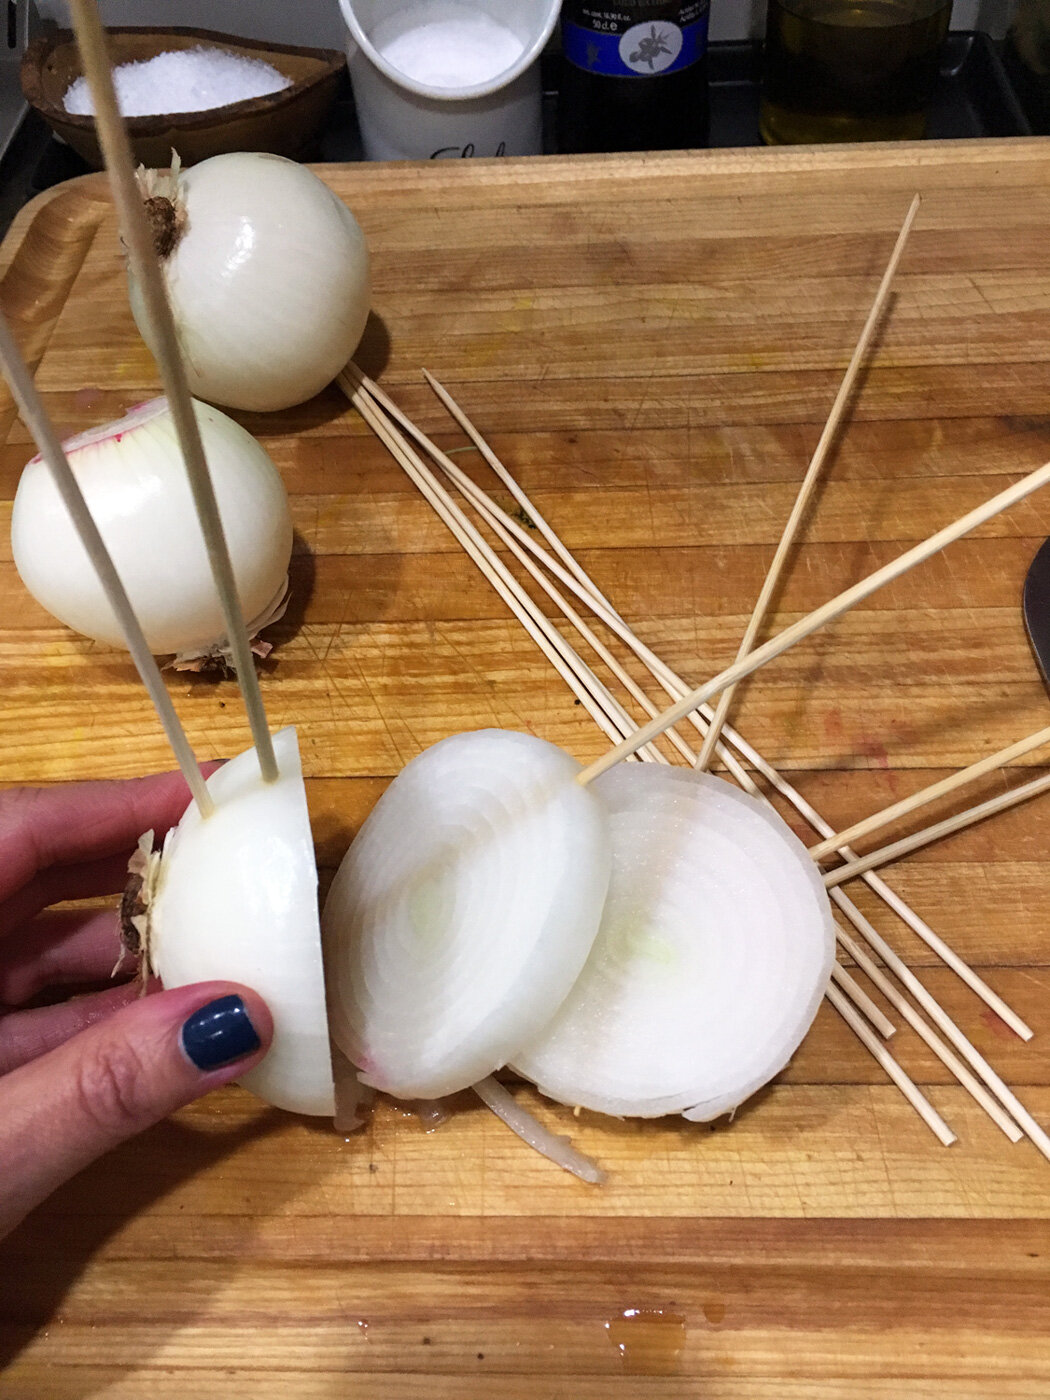
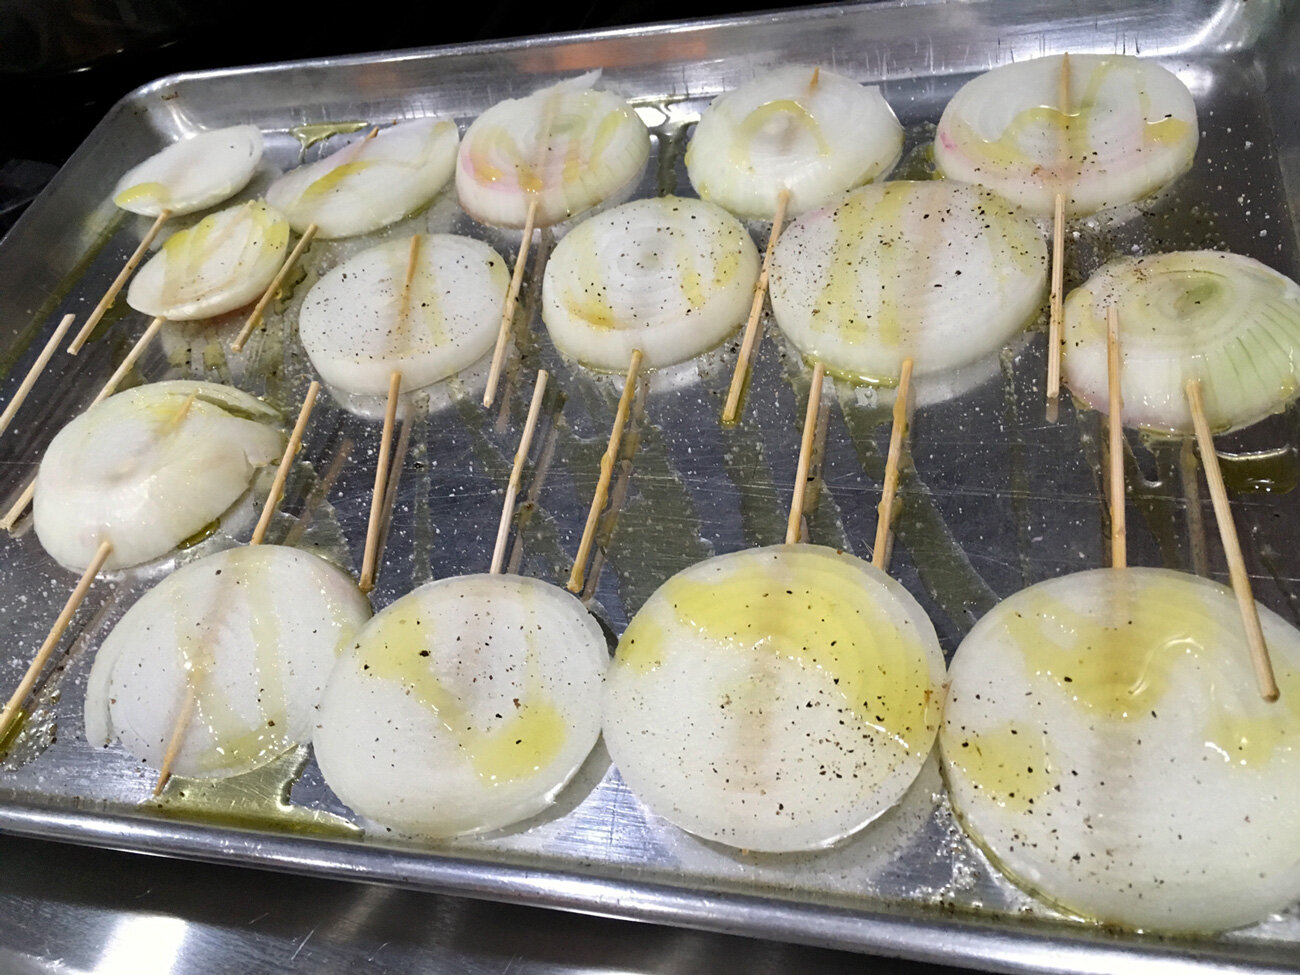
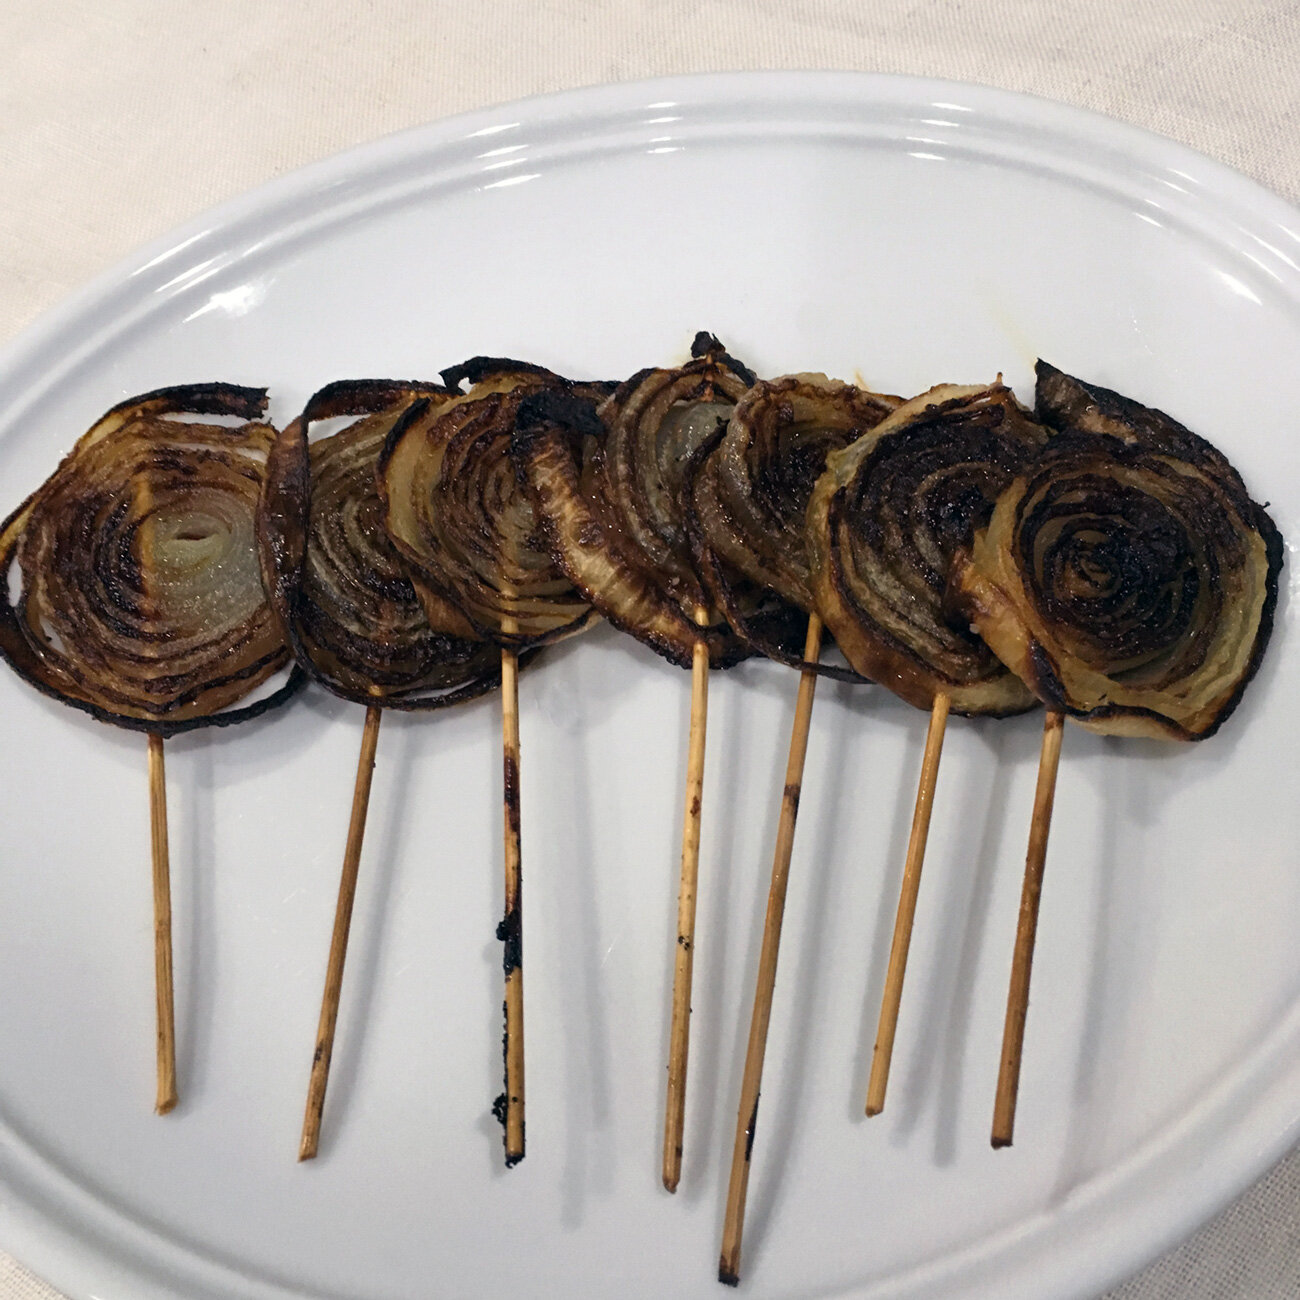
First, peel the onion. Then place skewers into the onion spacing them the thickness you want for each slice. Then using a sharp knife, simply slice between the skewers. You wind up with onion lollipop sticks that can be roasted in the oven or grilled on a cast iron skillet. Drizzle with olive oil, salt and pepper then cook as you wish. Of course, you remove the skewers before serving. Unless, of course, you devise an interesting way to serve them keeping their lollipop look. Up to you. The beauty of this method… Let me count.
The onions cook evenly
It is easy to turn because all the rings are corralled together
They can be used in a sandwich or on a burger without onion flying all over the place
They look beautiful
Should I go on.

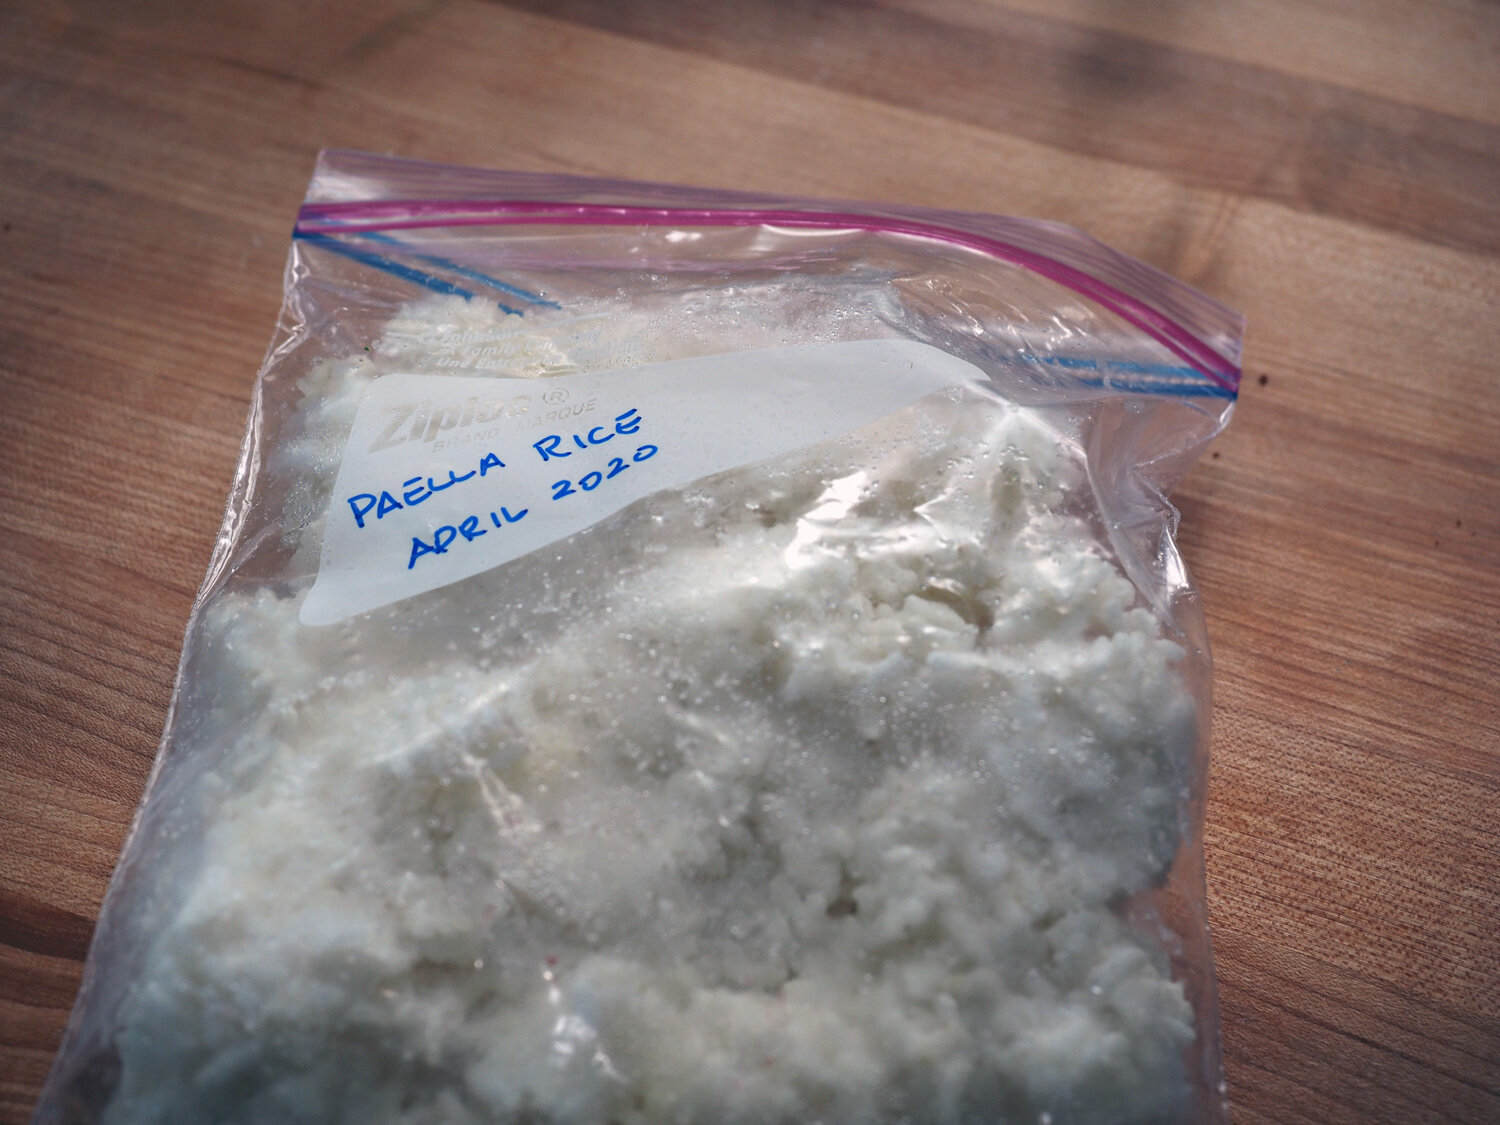
Pro Tip #2 - Rice is Nice but More is Better.
When you make rice, why not make 2 or 3 times what you need. If you are going to do the work once, why not take advantage of the efforts and make it easier at a later date. Cook the rice as you normally would. Set aside the portion you don’t need immediately by spreading it out on a sheet tray to cool for no more than an hour. Once cooled, place the extra portions in labeled plastic freezer bags. The best part about this is that when you need it in the future it doesn’t take 20 minutes to make. Remove the rice from the plastic bag and place it in a covered pan over a low flame and gently let it steam. If you have a microwave, which I do not, then you can warm in a microwave safe container. If using for fried rice, just throw in in the wok or pan directly. No need to steam since you want the rice to be cold. That’s the best way to make fried rice.
Various Uses:
Use for Stir Fry dishes like chicken and broccoli or shrimp and mushrooms
Add to soups
Use for Fried Rice
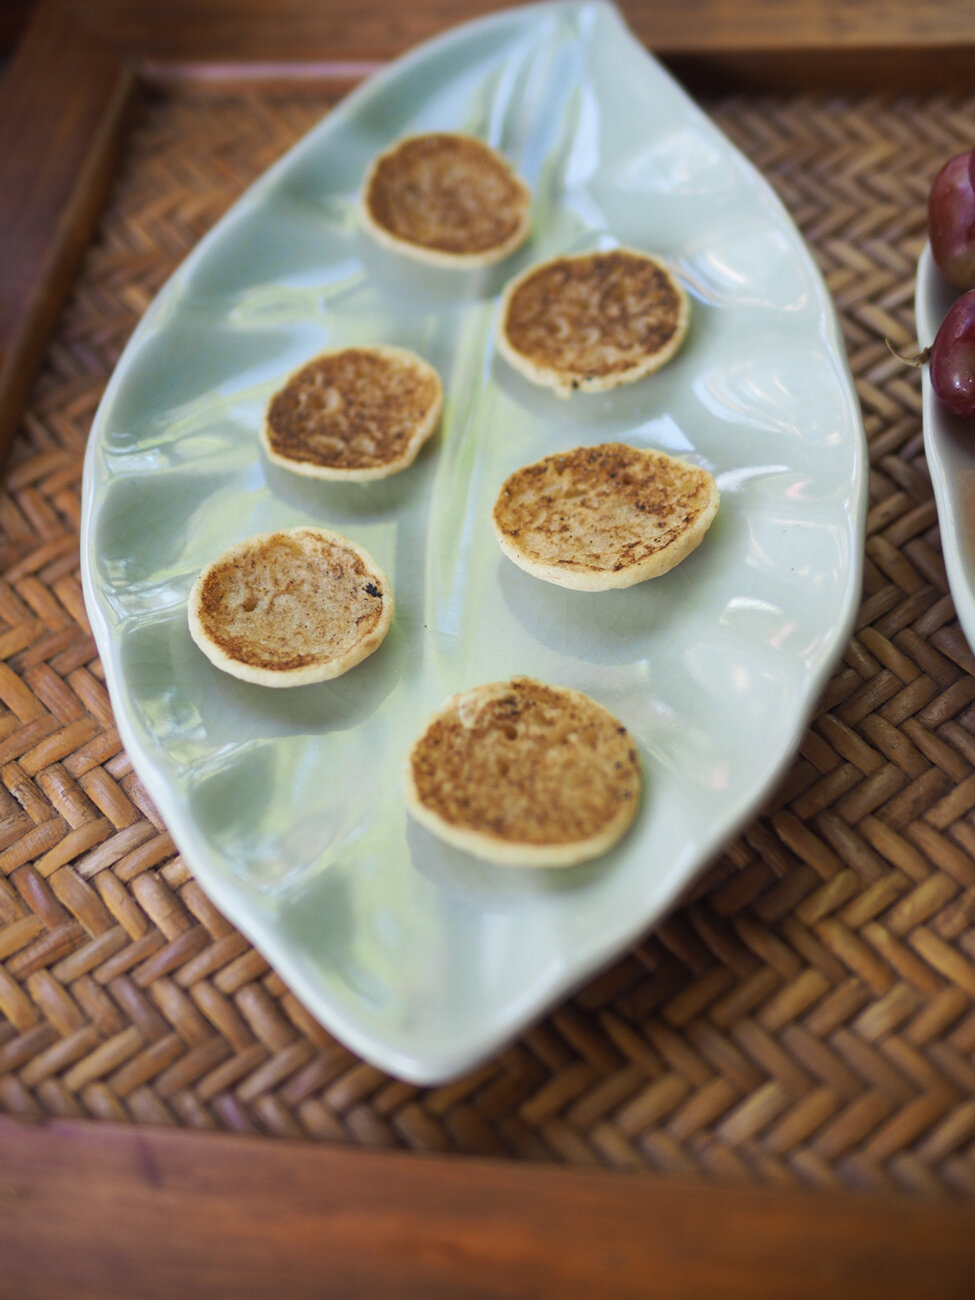
Rice cakes
* Storing and reheating rice needs special attention. Please refer to this link for important information to ensure that you safely store and reuse rice.


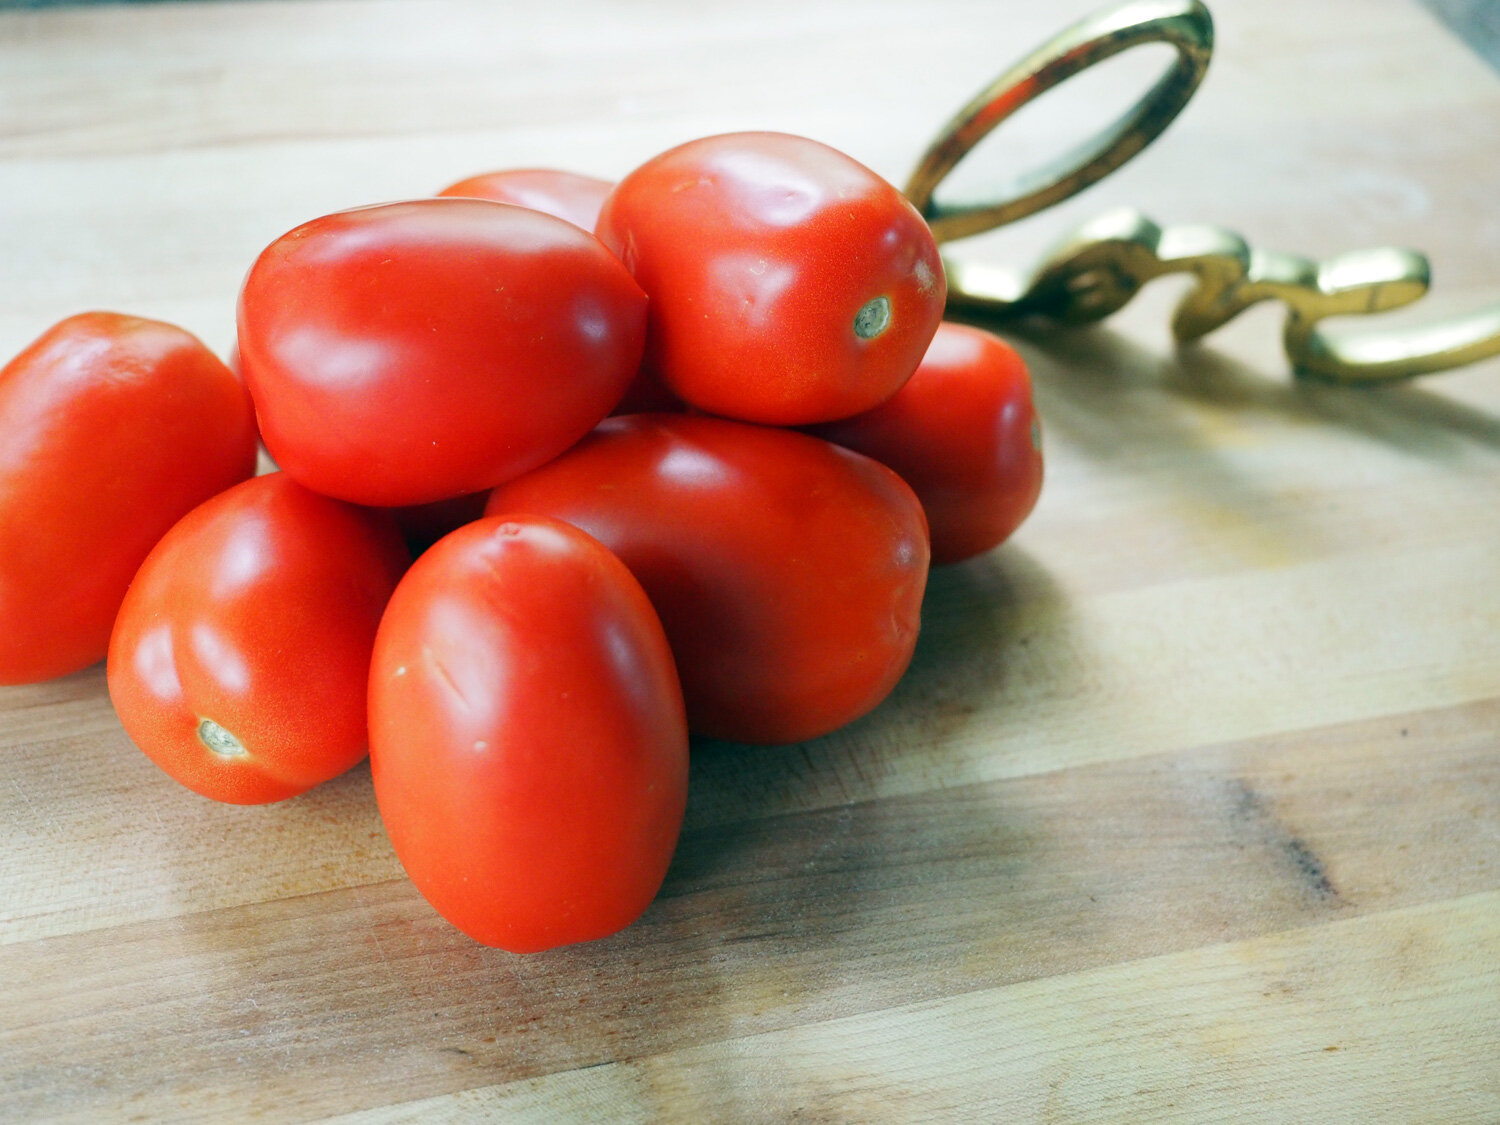
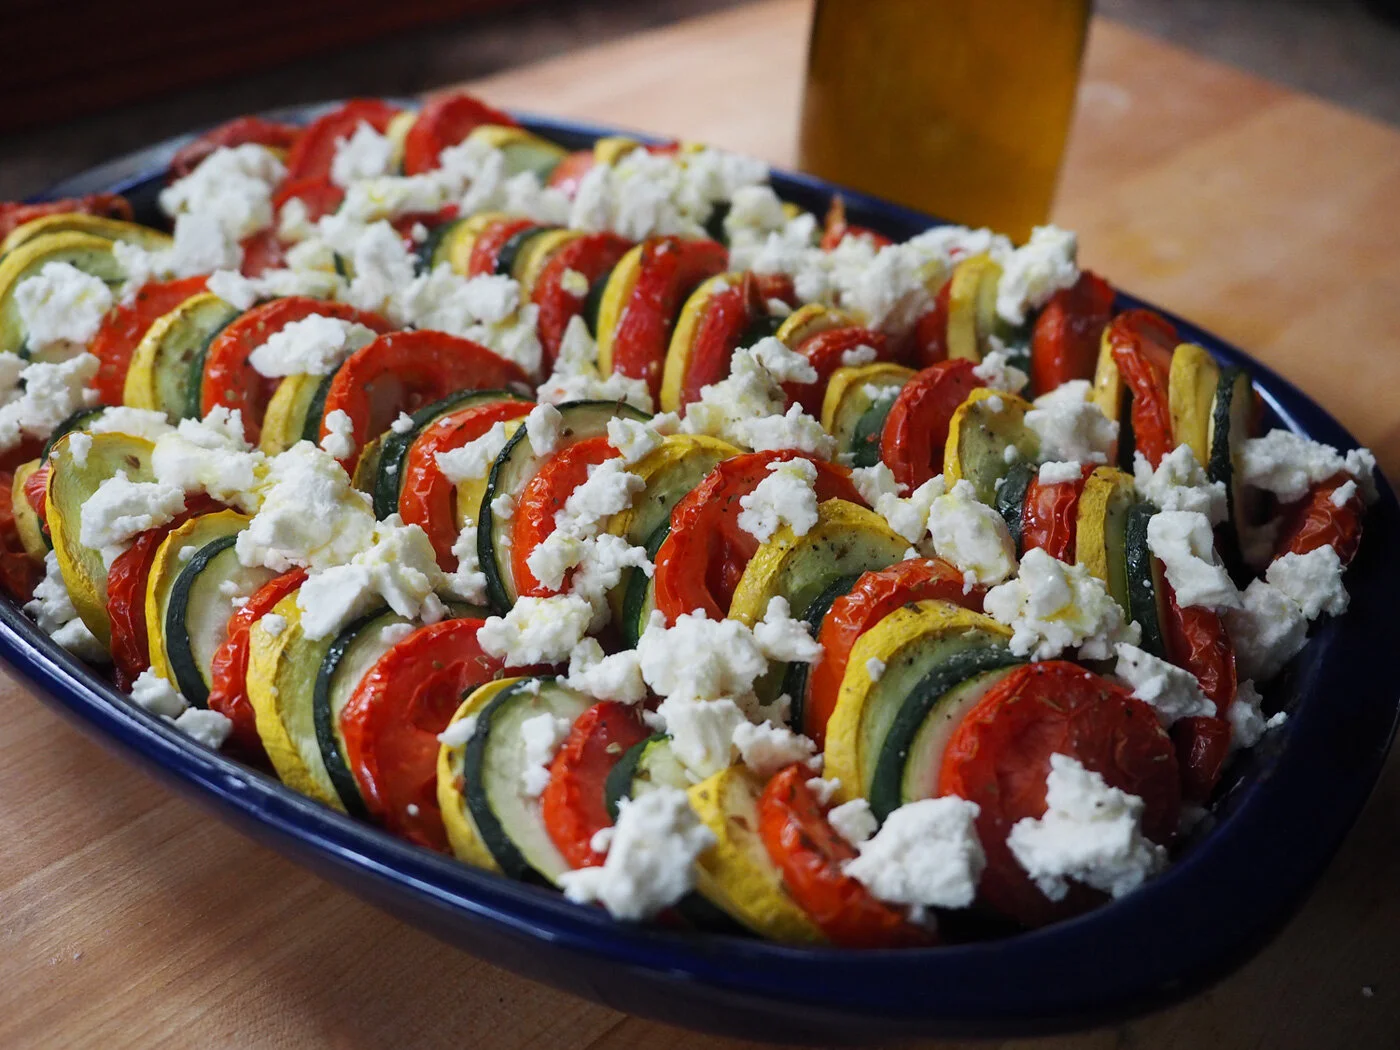
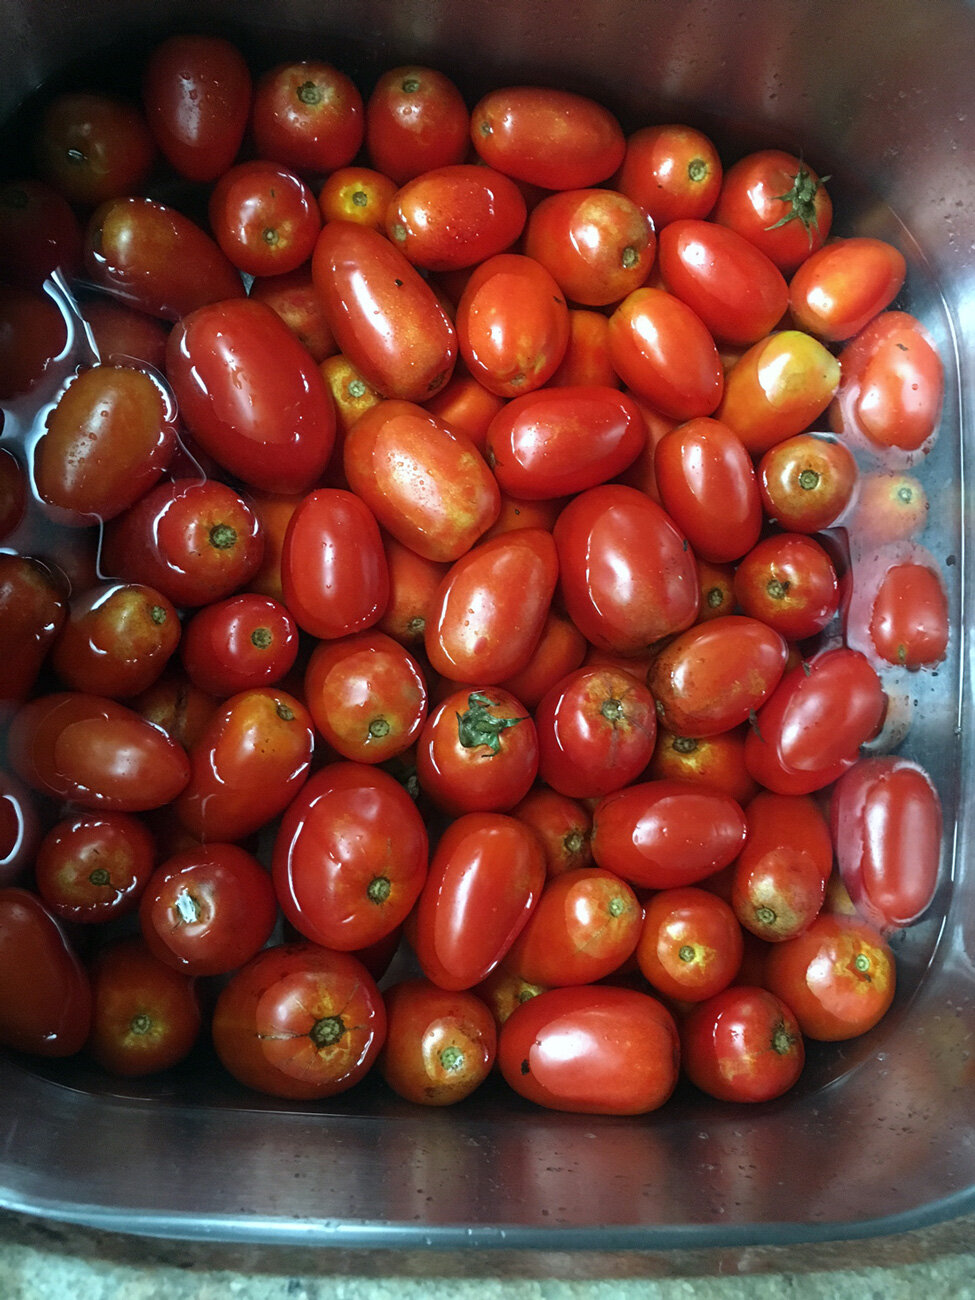
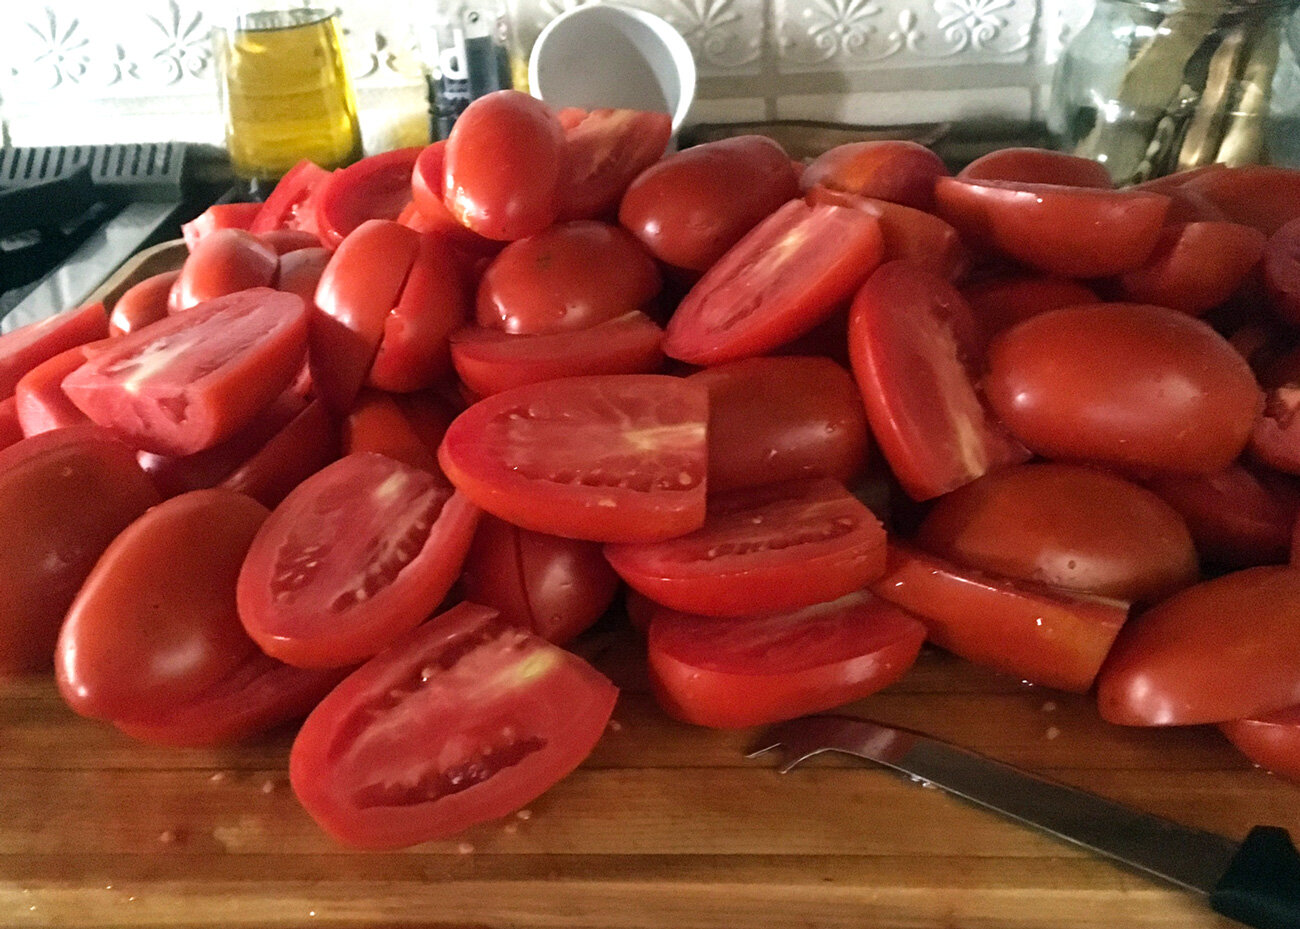
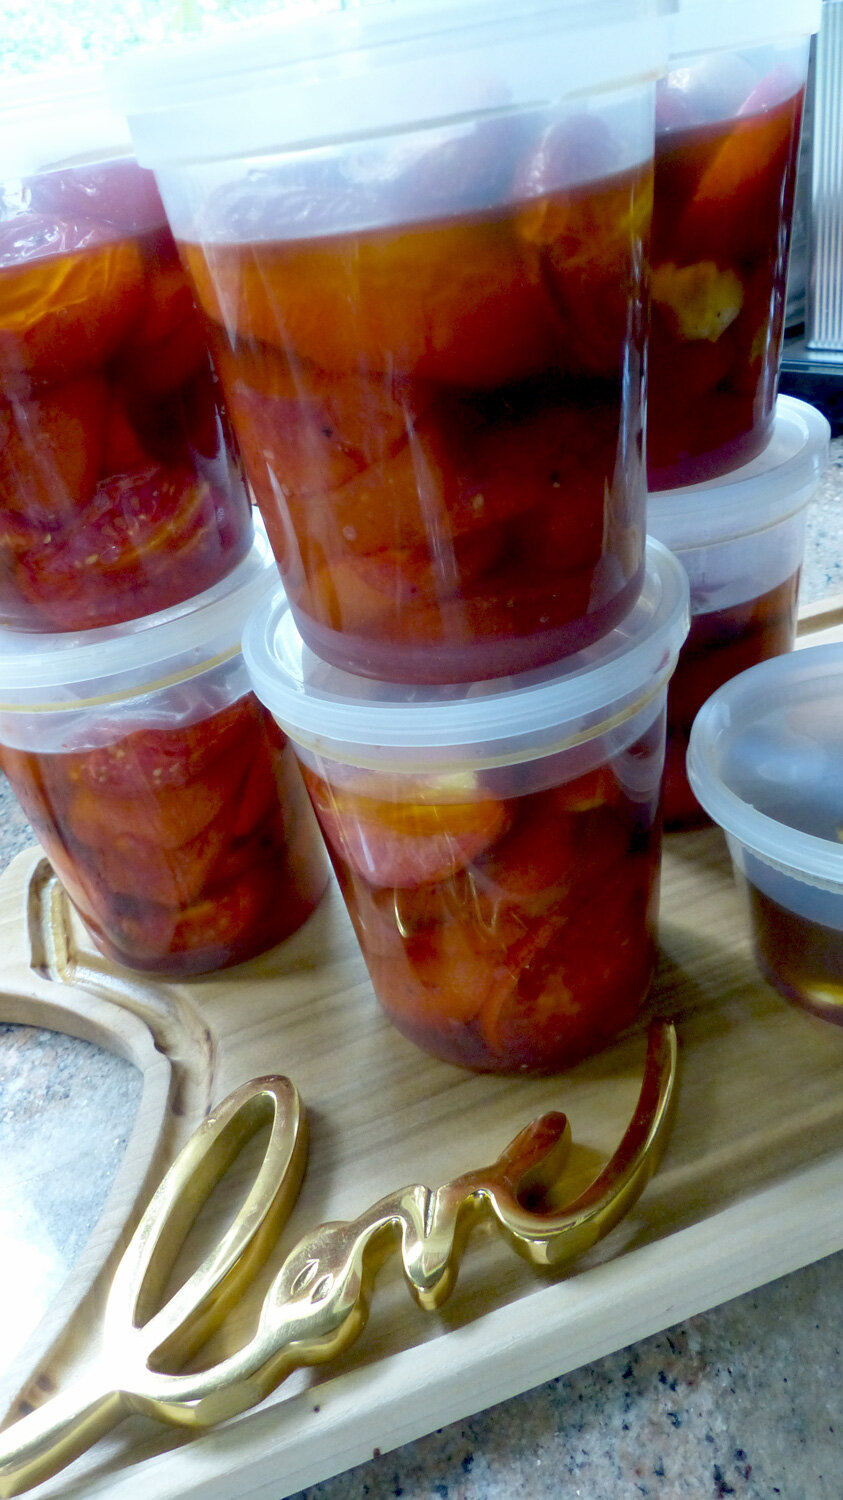
Pro Tip #3 - Buy in Season & Enjoy All Year Long.
Oven Roasting Tomatoes & Freezing
Some of you may recall the summer I bought 100 lbs. of tomatoes at the end of the season. Granted that is an inordinate amount, but I continue to reap the benefits of roasting these ruby red jewels. And that, my friends, is exactly what I’m talking about. Make the effort once and continue to feel the love.
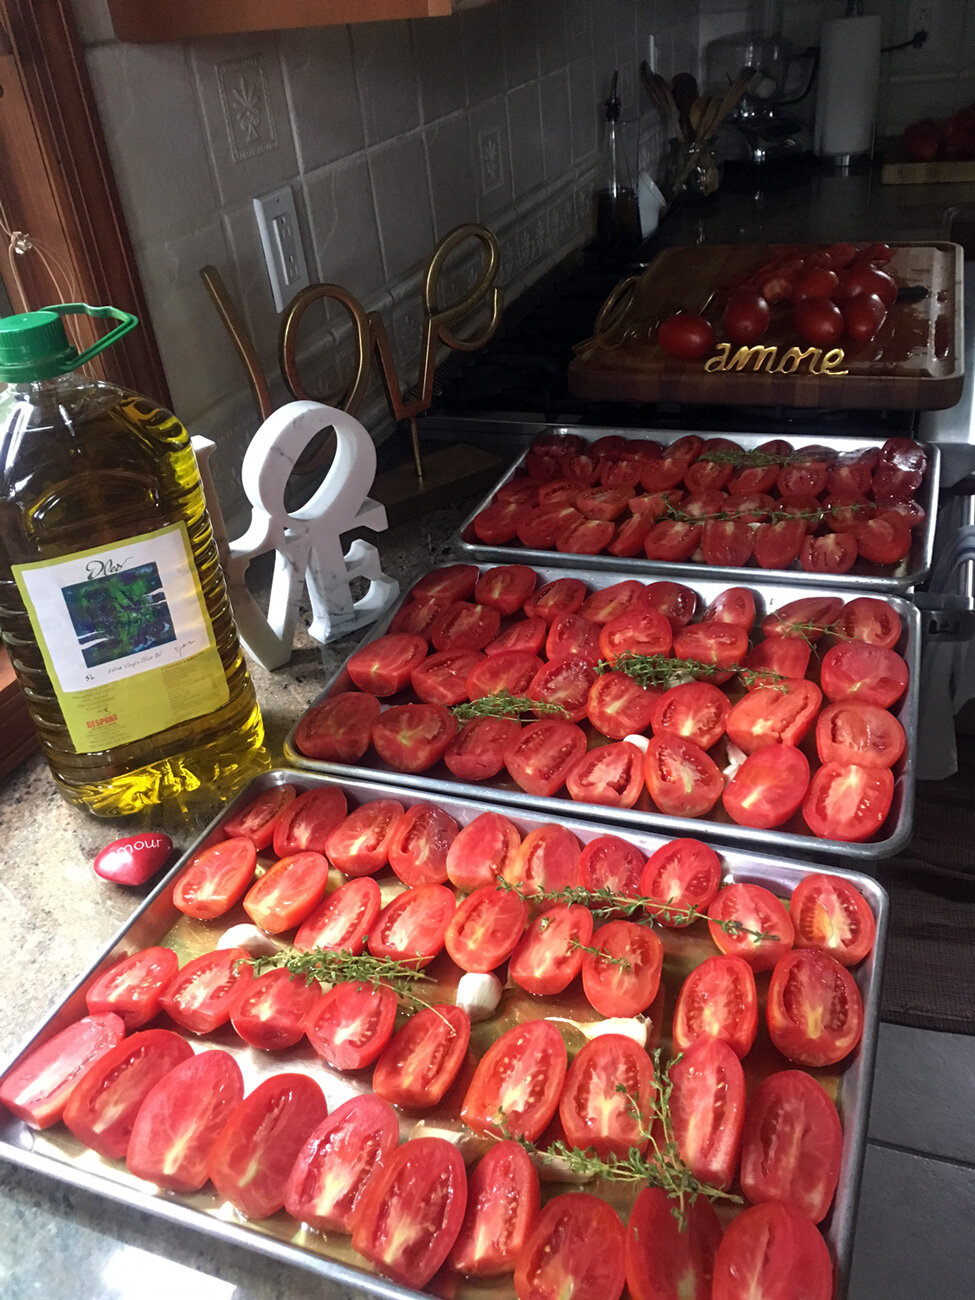

For more on the various ways to oven roast or dry roast tomatoes, check out the links below.
I hope that these few more tips and tricks will aid you in the kitchen, and make cooking easier and bring loads of benefits. For more ideas, check out:
Pro Tips & Time Saving Ideas Part 1