My dear friend, Donna, and I had been trying to make plans to get together for months. We had set a date to meet in the city for lunch, but alas those plans got axed. Once we switched the day, it meant she was able to come up to my house for a 'ladies lunch'. Does that make us sound old? If so, then forget it. We were just eating together.
It had been a while since we had last seen each other, so the idea was to enjoy each other's company and not have cooking occupy my time. The plan to keep it easy peasy was to create a menu where the majority of items could all be roasted in the oven and the rest could be made ahead of time. Leaving me hands free for when she arrived. I like starch (pasta, potatoes, rice not the kind used for ironing), and wanted to include that too. My immediate thought was polenta. However, after surveying the menu, a last minute swap out for rice felt like it paired better with the rest of the offerings, which also included a salad. When it came to dessert, this needed to be super simple because I didn't have the time to bake. Add to that, I wanted something that I could enjoy too. A traditionally baked item uses flour and eggs, well, no good for me.
Sure sandwiches would have been even easier. Sure we could have eaten at the kitchen table. But a little extra detail is much nicer. And so...

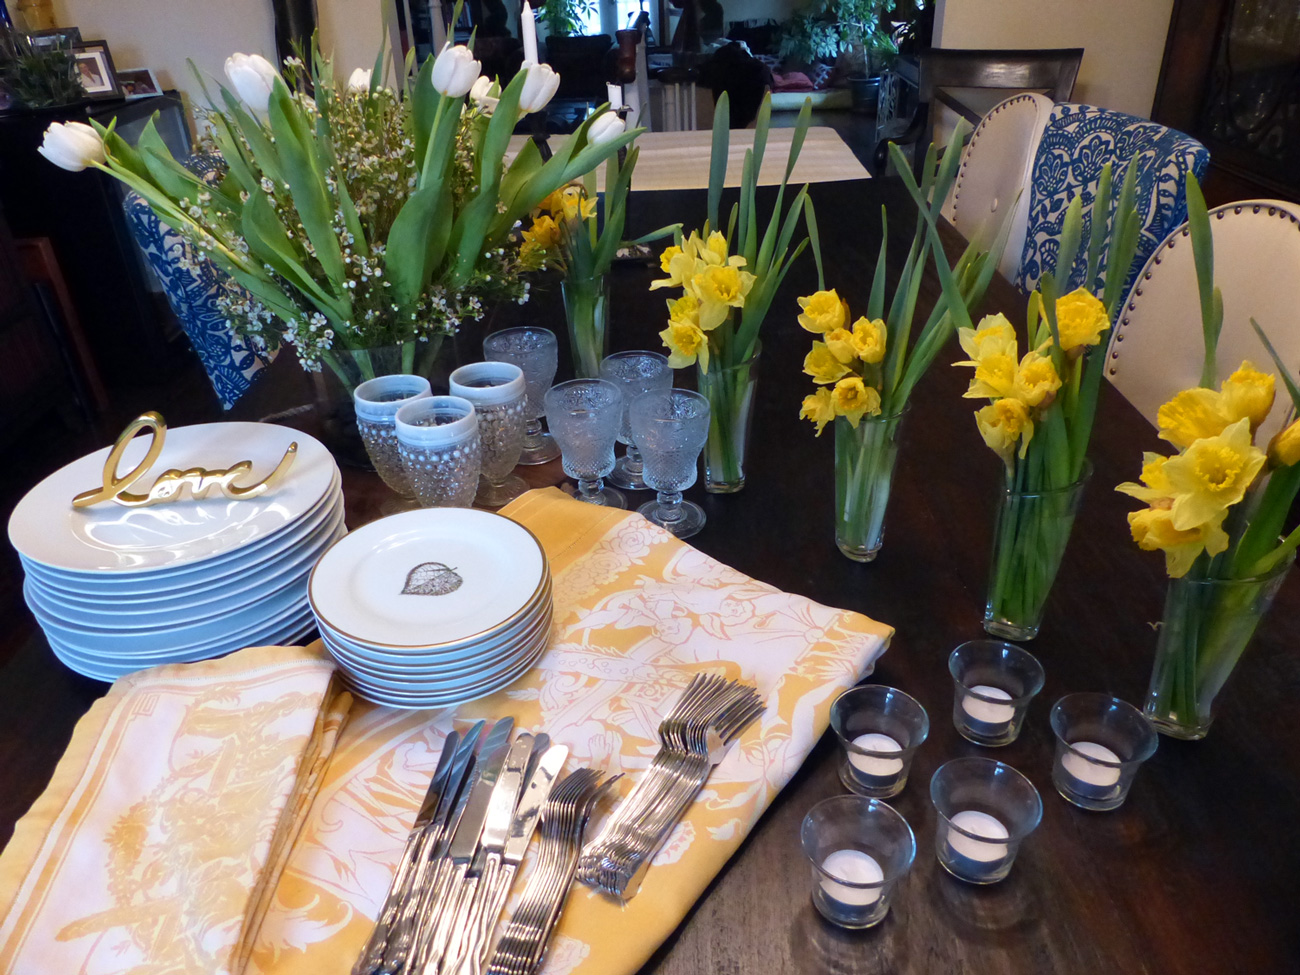
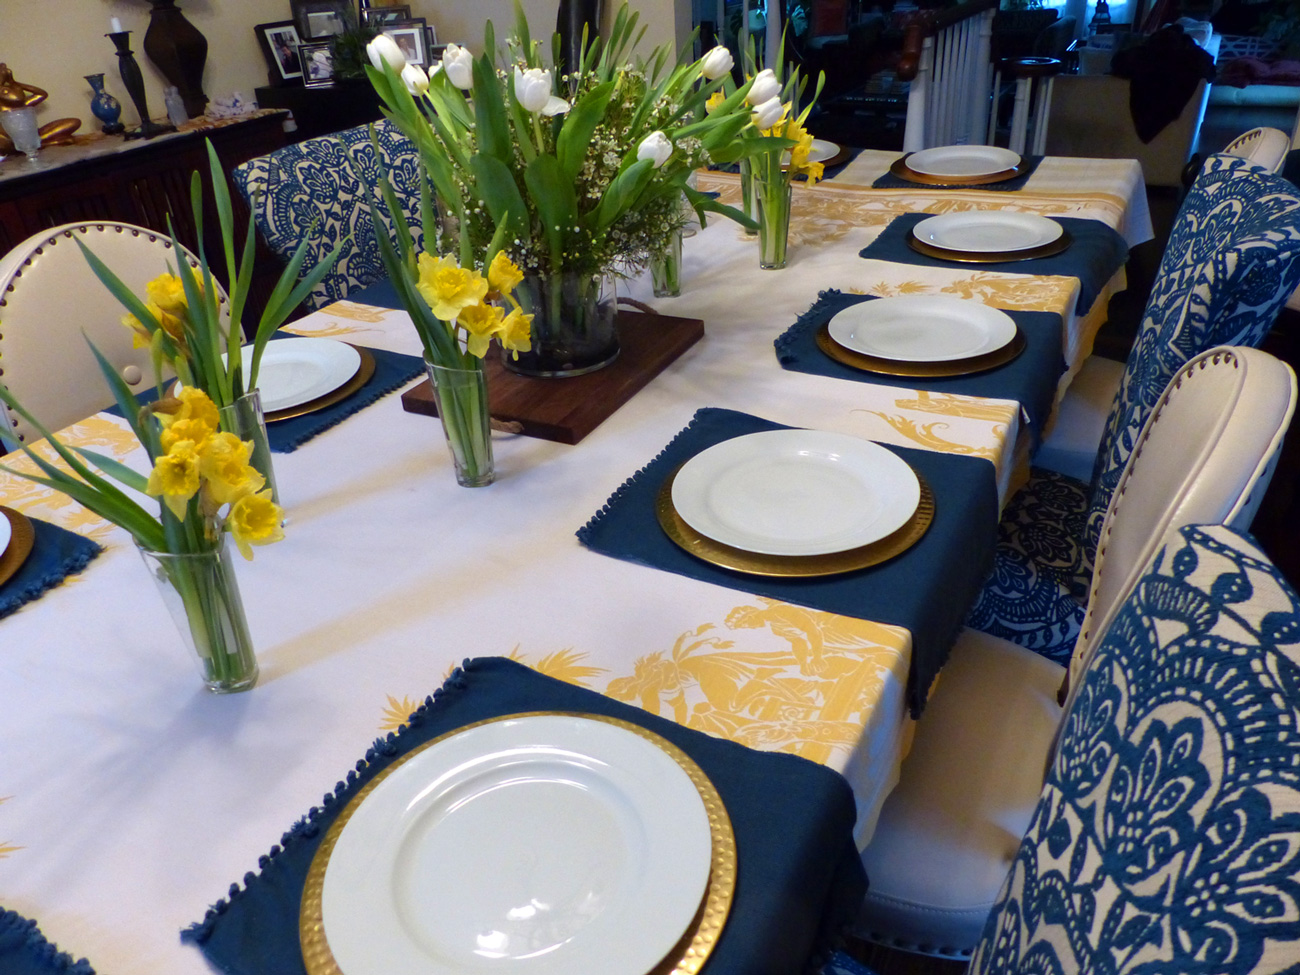
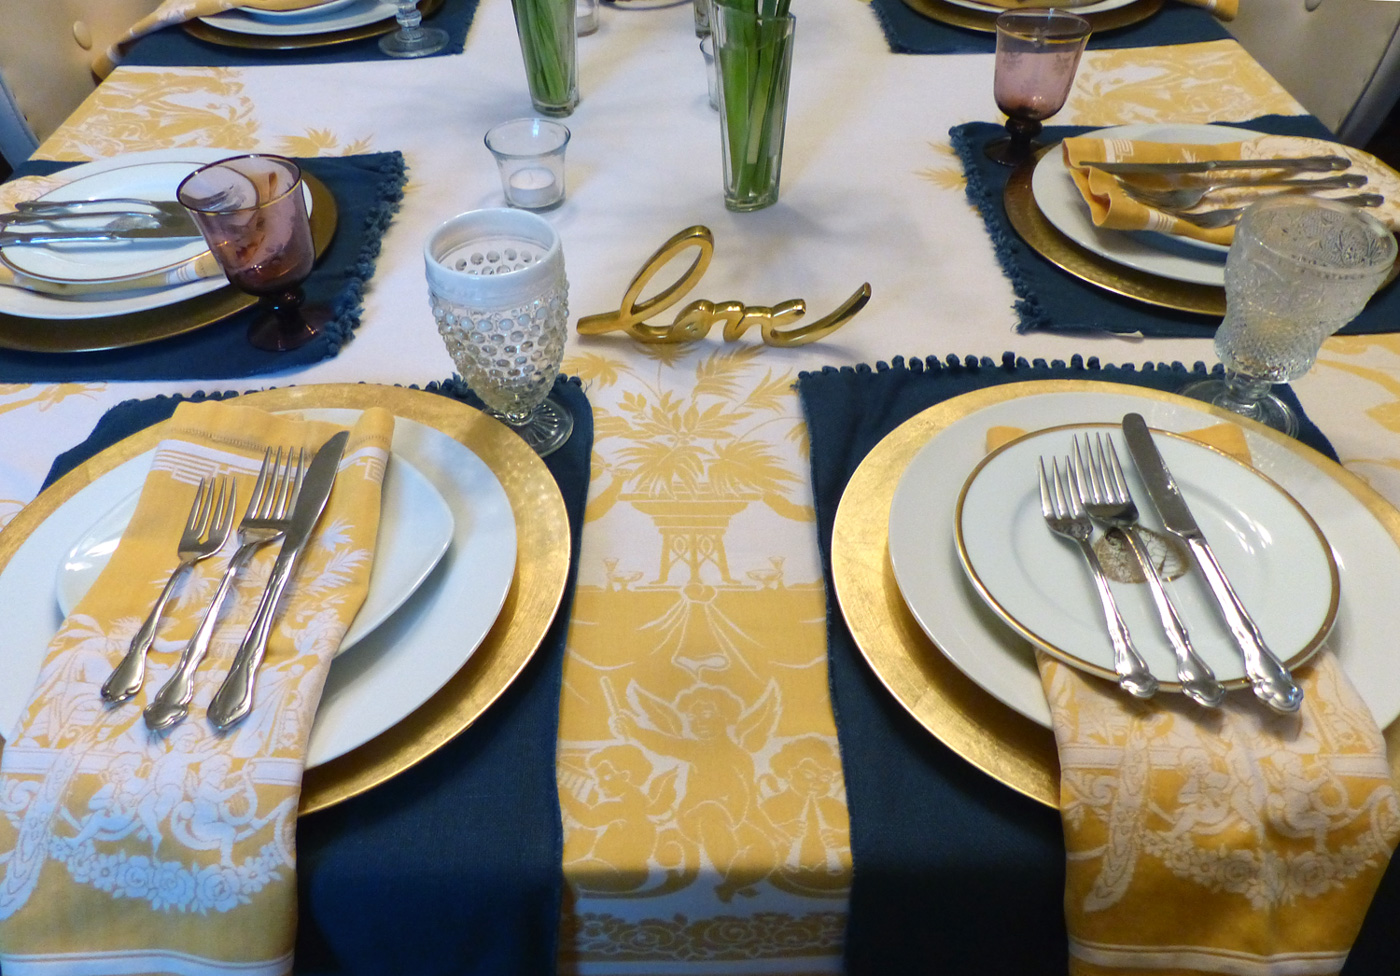
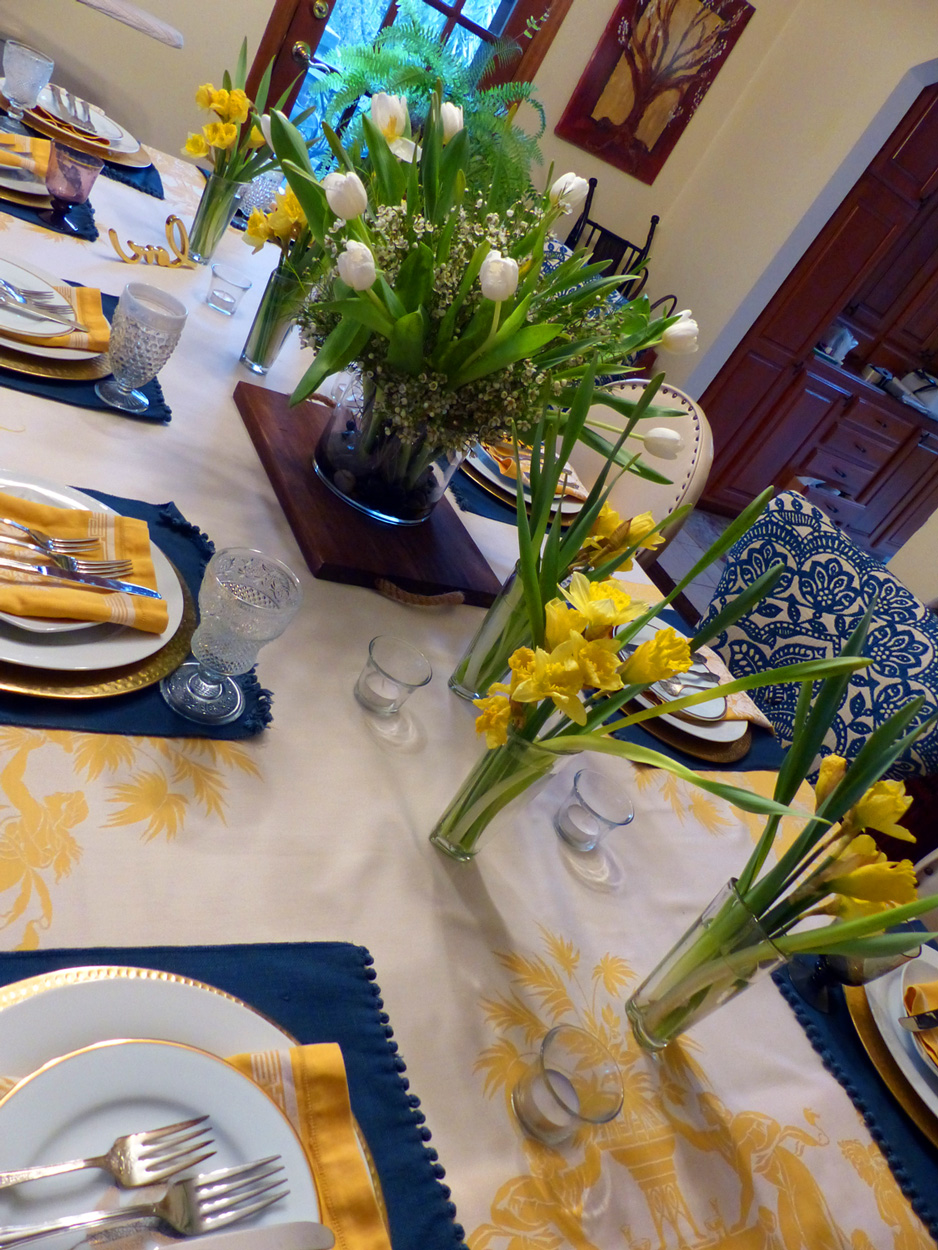
How hard is it to keep it casual but amp it a bit to feel special? Simply throw down a runner the opposite way to create an more intimate area on a large table, add some placemats. Toss cloth napkins on the plate and put glasses on the table. That always ups the ante, and really it doesn't take more effort than that.
So when you want to keep it chill yet with touch of style for no fuss lunch, here's a menu that can be pulled off without a hitch. The best part of this for me was that since it was pouring out and despise schlepping in the rain, I already had everything in the house, and didn't even need to shop!!

Prep everything in their pans, season right before putting in the oven and have a glass of wine.
If you need some recipes guides for the below menu, the highlighted items link to previous blog posts that feature each one. Also at the very bottom, you will find printable recipe versions. If you have any questions on how to pull this menu off, write a comment below or email me
Lunch Menu
Paella Rice Risotto style with caramelized red, yellow onion and scallions (see below)
Fresh Fruit "Bark" (see below)

Simply roasted salmon nestled up against beautiful roasted vegetables all on one plate.

Paella rice risotto style with 3 kinds of onions (red, yellow and scallions)
For the Paella Rice Risotto style, first sauté a mixture of red, yellow onion and scallion until caramelized. Set aside. In a medium sized pot, simply sauté some more onions in oil, salt and pepper then add the rice to toast it. Then add either hot water or hot stock (chicken or vegetable) a few ladles at a time until the rice absorbs the liquid. Continue until the rice is tender then stir in the sautéd onion mixture.
Another option, you can check out my Garlic Rice recipe.

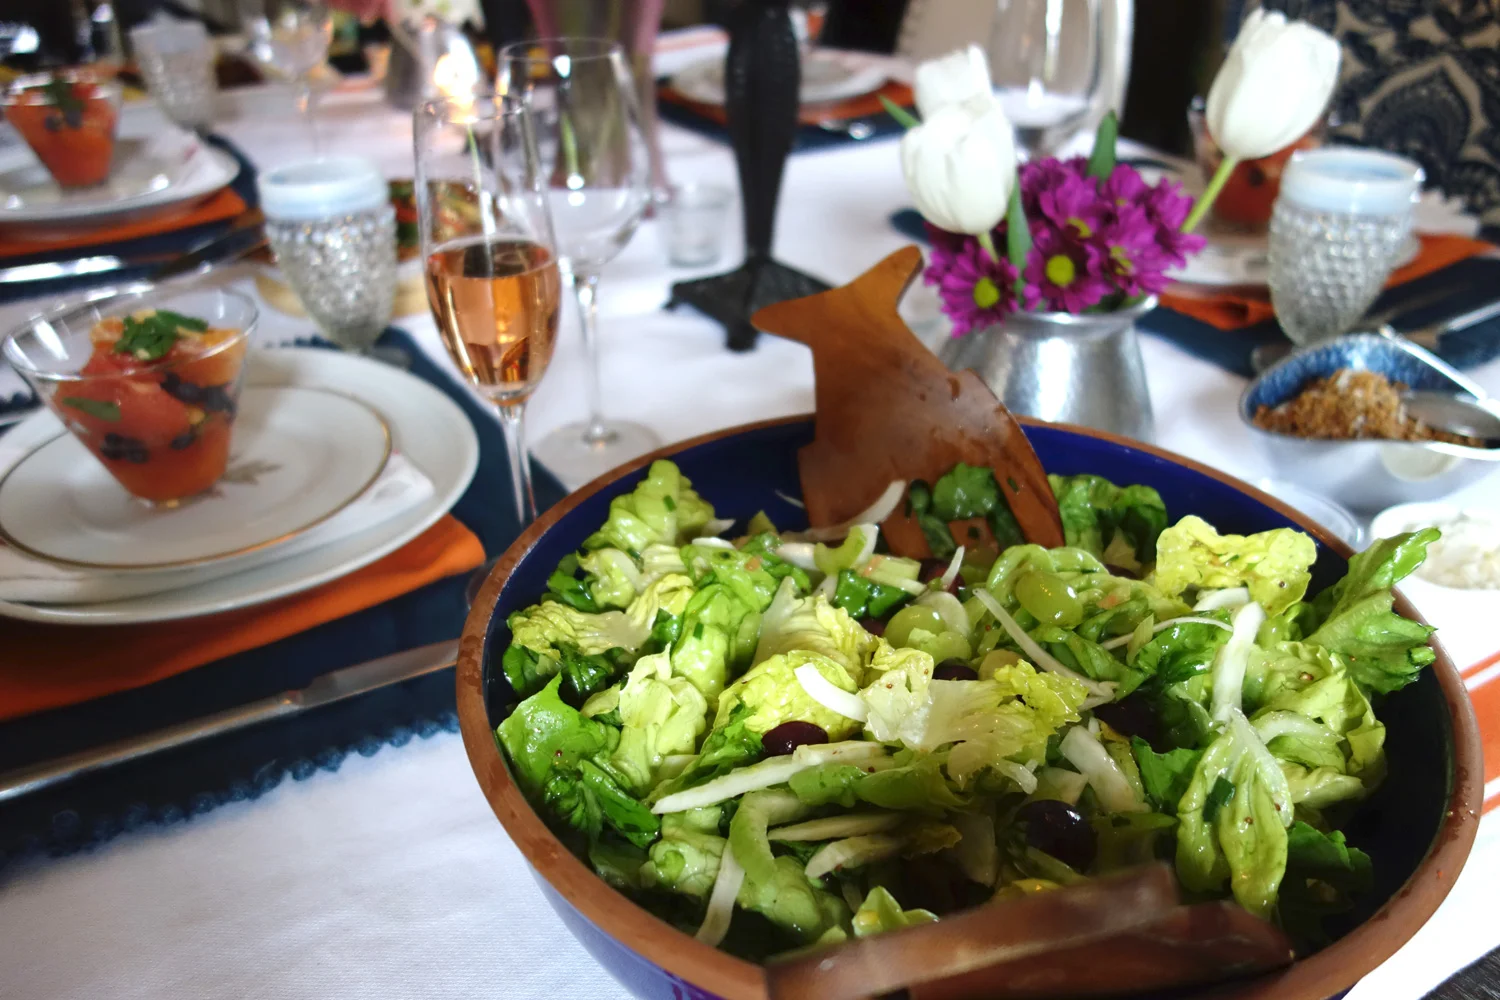
You know this salad. This is the Citrus Salad Bowl, but in one big bowl not individually plated. This way we could go back for seconds.
The skinny on how the dessert portion was pulled together with just a few ingredients: Open the fridge. Check out what you have and use your imagination. I found strawberries and blueberries, and tucked in the back a tiny bit of left over chocolate ganache* (previously used for some profiteroles I had made). And just like that I had a dessert. Fresh Fruit Bark.
* Ganache is chocolate melted down by adding warmed cream to create a glaze . When I originally made mine I used much less cream since I wanted a thicker consistency for the profiteroles. If I had a traditional ganache, it would have never worked for this dessert.

Spread the chocolate onto parchment paper.
Instructions
I melted down the chocolate, spread it over parchment and jammed, I mean lovingly placed, the fruit into the chocolate. For texture, I sprinkled some crushed Marcona Almonds and popped it in the fridge to set and chill until time to serve.

Arrange the fruit in a way that is appetizing to you.
Since this was made with a semi ganache, it had a softer consistency than traditional bark. That didn't bother either one of us, and the fresh fruit route was the perfect choice since Donna prefers fresh versus dried fruit. Phew, good call on my part. This literally was the truest form of 'something from nothing', pulling a dessert out of the hat from whatever I had handy. We both agreed it was quite delicious. Bigger bonus, it gave her a new way to use up all the gorgeous summer fruit she gets at her country house.
Starting with the lovely Shinn Estates Rosé that Donna brought, we had a relaxing time, ate well, caught up on each other's lives and travels, enjoyed a surprise yummy dessert, and of course, finished the entire bottle of wine. It ended as a perfect Lunch with a Friend.

Sprinkle chopped Marcona Almonds all over the top.